

Actually, I was doing pretty well on 75m AM (3885 kc, of course!) with 25-30 watts and my vertical. I had spent half the year coming up with the best antenna arrangement I could produce in the space I had, and under the conditions I needed to work within. I had tried dipoles of all sorts of configurations, random wires, inverted 'L's, loops, all of which did work, but the one antenna that consistently had me returning was my 40m quarter wave, which by now sported about seven 70-foot radials, along with the original ten 35-foot radials. What really did the trick for 75m operation was inserting a matching coil in series with the feed, which over time I made switchable with a DTDP switch mounted in a weatherproof box. It switches the coil in and out of the feed line. I still have to go outside to flip it, but it is better than having to unscrew, unbolt, then re-screw the feed to it's feed points. Much less wear and tear on the feed point and the transmission line!
.

.
It's a simple little coil wrapped around schedule-40 pvc (around 1.75" O.D.) using 12g insulated solid core house wiring. I kept the coaxial RF choke in line, which keeps me out of the TV cabling nearby when running the amp.
.
Another thing I added but didn't think to photograph was my new ground system. I drove several 8 ft copper grounding rods along the side of my house separated by about ten feet, all wired together with heavy copper wire, which grounds my antenna and my station. It may make thing run a little quieter, hard to tell with the bands already noisy from the atmospherics that happens down here in the deep south surrounded on either side by two major bodies of water, the Gulf and the Atlantic. But it does provide a bit of added safety.
.

.

Here are two shots of my antenna, one with the choke visible. You can get an idea of how high the feed is above the ground....about two ten-foot mast sections high, bolted against the gable end of the house. The switch and coil are out of sight, but are positioned to the left of the base, some distance so as not to muck with the coil inductance. The antenna is 33 feet high, and a few of the seventeen radials can be seen spreading out from the grounding plate.
.
Added
to this is a little bit more power behind the carrier, courtesy KA4USN,
Ron up in McClenny, FL. It's a Collins 30L1 linear amplifier (shown above in the top photo), sporting four 811As. I
like the 811A because, well, I have had a background with them from my
Johnson Courier days. They must be tuned a bit differently for AM as opposed to CW or SSB, and for any
CDC service such as RTTY, carefully so. The best advice I've
found so far on how to tune these sorts of amps.... designed for ssb....
comes from Owen Duffy, which advocates - based on their computer
modeling of the 811A - tuning the amp within a range that protects the
plate (Anode) of the tubes, which have a plate dissipation rating of
only 65 watts per tube. You can find this information here.
It involves driving the tubes at minimum drive, maximizing the tuning
of the amp for highest output, and then adjusting the drive alone to
achieve about 120 watts, which keeps the finals well under their max
dissipation level, but will provide about 490 watts at voice peaks. The
conventional method of tuning "for full smoke" will provide greater
power....but at power levels significantly above the plate dissipation
level. And AMers do like to put a brick on the mic!!
.
You
might note the thermometer on top of the amp in the photo at the top.
It is a digital thermometer sensing the air flow from the muffin fan set
atop the amp to monitor the heat. At this point the max temp with a
one minute key down at max power is 110 F. It normally runs between 95
and 100 F. That is fairly cool for four clustered valves like the 811A. Of course this muffin fan is in addition to the fan already part of the amp itself. It's got great airflow.
.
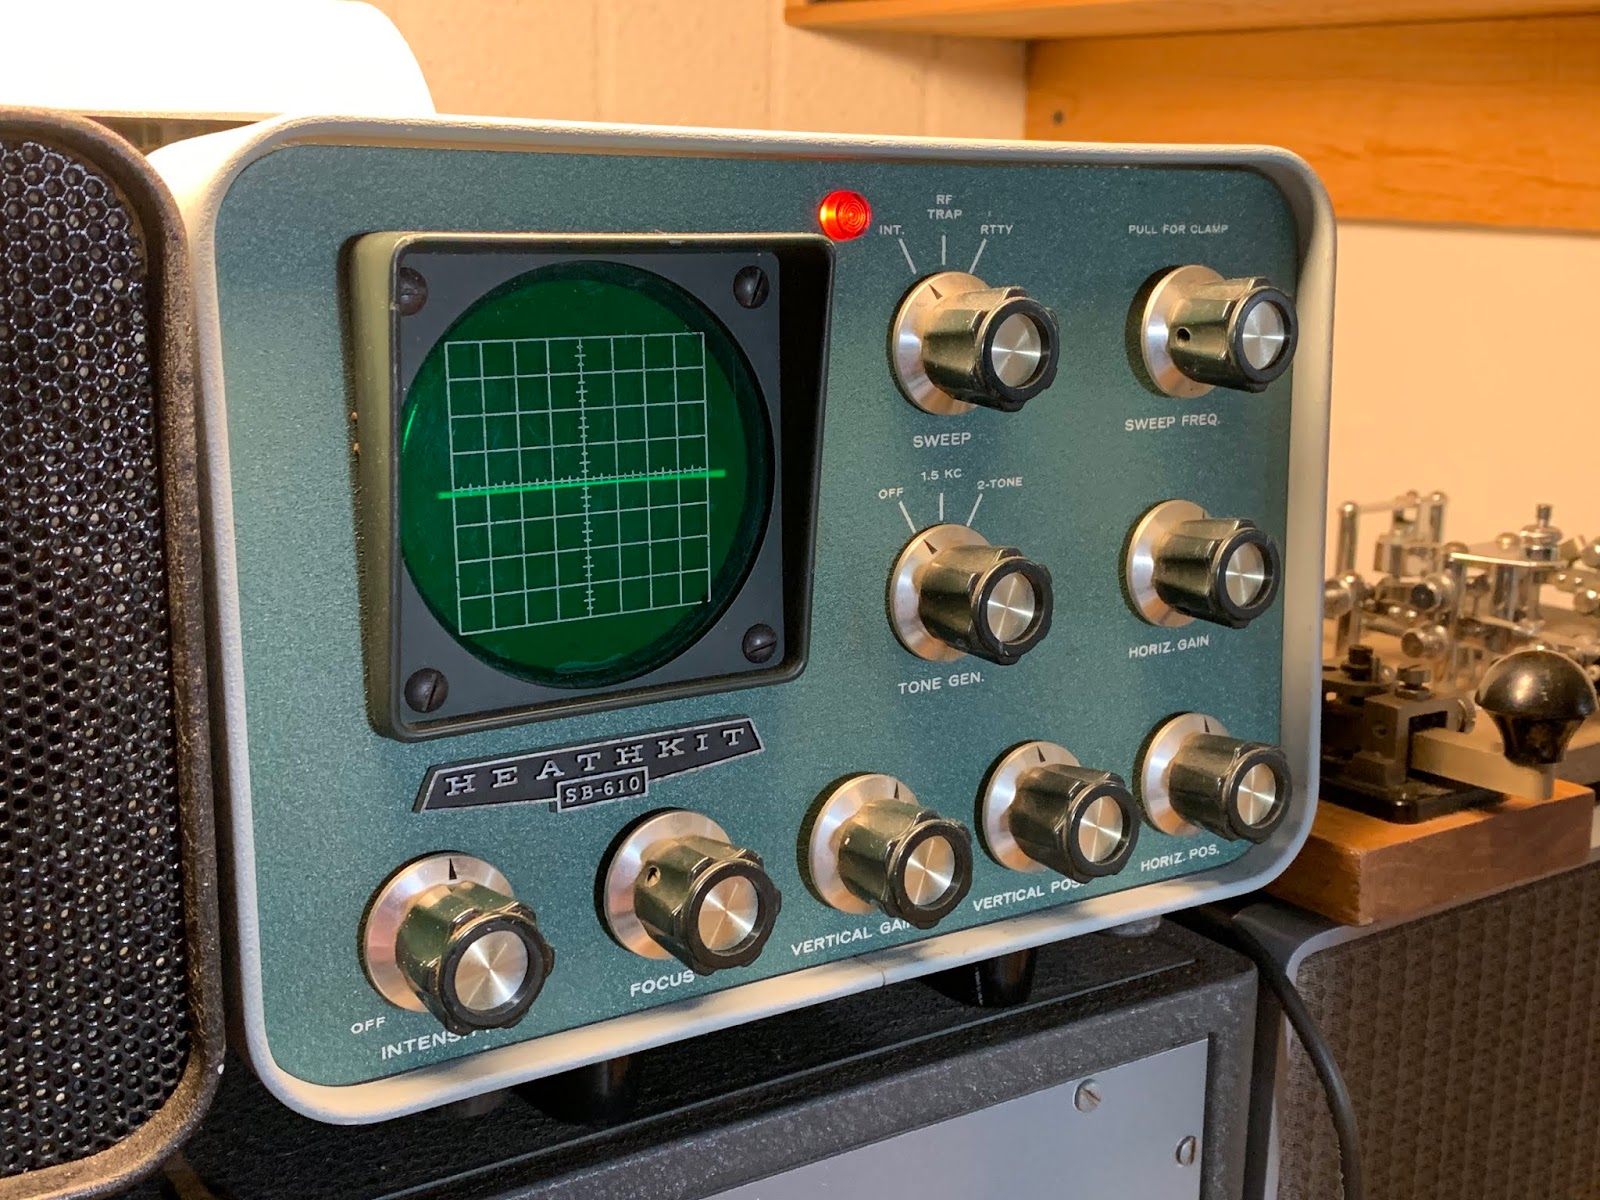
One more addition I will include in this installment: my new-ish Heathkit SB-610 Station Monitor, which I purchased at this year's Orlando Hamcation. This provides me with a needed reference for my modulation, which up to now I relied entirely on reports from other stations, metering, and my own audio monitoring through the receivers.
.
.
This Oscilloscope was designed for the SB series Heathkit transceivers and provides a fair assessment of modulation integrity. Not perfectly but effectively. I had to read up on how to use it, and between my 1954 ARRL Handbook and the manual that came with the unit, I could actually catch a visual of my modulation envelope.
.
While the monitor does come with it's own one and two tone generators, they are a bit weak. That is something I will work on later. So I set my modulation from a live digital tone generator and a live mic. Switching the FT-101EX over to a dummy load, I sent a 400, 900, and 1500 cycle tone to the mic and watched as my envelopes displayed a heavy overmod pattern. Note that I am not using the trapezoid pattern: that requires a bit of re-rigging of the scope inputs, but I will eventually do that re-wire and take a look. But right now I was able to get a feel for the signal at different levels of audio frequencies and speech amp settings.
.
I check the monitor both with the exciter alone (FT-101EX) and with the amp in line. The amp does provide a very faithful reproduction, which showed that I only needed a bit of tweaking of the audio with the amp on. Barely a touch.
.
I check the monitor both with the exciter alone (FT-101EX) and with the amp in line. The amp does provide a very faithful reproduction, which showed that I only needed a bit of tweaking of the audio with the amp on. Barely a touch.
.

.
Here we see a bit of over-modulation using a 900 Hz tone into the dummy load, the tops of the envelopes are flattening out using a 900 cycle tone, and there is a gap between the envelopes.

With a bit of reduction in the mic and speech amp, I was able to maintain a good average looking envelope at all the different audio inputs. I learnt that if you keep your eye on the middle, the zero voltage point between the envelopes while speaking into the mic, you can kinda gauge the thick or thin nuances of the center line as to whether you are tending heavy or not. When speech is monitored, of course you get a whole jumble of wave forms, not this pretty train of envelopes as you do with a single and steady tone. But if that center line looks pretty thick as you speak, you can back down on the audio and watch it thin out very noticeably, keeping an eye on the peaks to avoid flattening out. When I say "thick", I don't mean wide or broad, as in an undermodulated carrier. When you overmodulate, the waveform gaps between the envelopes but the oscilloscope still shows the zero voltage line. When you speak, the various wave forms created by the speech will all have that gap and zero-line between them. That gap becomes noticeable as you talk because the zero voltage line actually starts to emphasise itself (on my scope it actually gets more intense). When you reduce the modulation that zero-line will become less bright, or intense. It's turned out to be a good "on the fly" adjustment technique. The reports from others, plus a monitoring of my own voice over the 'phones pretty well confirms this.
.

Just to compare, here is an under-modulated sample of that 900 Hz tone. Note the amplitude is lower, and the center line is thicker. Probably a better way to monitor the signal in action is to set up the scope for a trapezoid patter, but that will be down the road apiece, as this requires a special x/y axis hook-up, which can be done.... the manual explains how to do it.
All in good time.
.

.
So, here is where WD4NKA is at now. That speaker on the amp is not there, now, it was just a convenient place to park it at the time of the taking of this photo. It's a not-too-easy-to-find Hallicrafters speaker, which sort of reminds me of a drive-in movie theater speaker, lol! The D-104 in the foreground is an amplified version, probably dating to the 1980s. I used the Station Monitor to set it as well. It's barely amplifying, but it does make a difference in how the station sounds! It tends to add a bit of low frequency to a normally higher pitched mic.
So, here is where WD4NKA is at now. That speaker on the amp is not there, now, it was just a convenient place to park it at the time of the taking of this photo. It's a not-too-easy-to-find Hallicrafters speaker, which sort of reminds me of a drive-in movie theater speaker, lol! The D-104 in the foreground is an amplified version, probably dating to the 1980s. I used the Station Monitor to set it as well. It's barely amplifying, but it does make a difference in how the station sounds! It tends to add a bit of low frequency to a normally higher pitched mic.
.
These days I find myself switching between 75m (3885 kc) and 40m (7287 kc) as the mood strikes. My operating time is normally between 5 am and 6 am EDT on either band. Forty meters is quite nice at this time of the morning, being the dawn-side of 'grey-line'. There is rarely anybody there. I find myself using three webSDRs to get a feel for where the band is going, KFS on the California Coast, K3FEF in the Pocono Mountains of SE PA, and VE1BWI in New Brunswick Canada, on the North East PEI area. When I call cq on 7287 kc (I use this odd frequency so I am not mistaken for a Broadcaster on, say, 7290 or 7285 kc), at some point I will indicate which webSDR hears me best, as a courtesy.
.
So that's the AM station, gang! And as i said in the last installment, WD4NKA-AM is a work in progress.
No comments:
Post a Comment