The above title translated: "A Home Made Master Oscillator Power Amplifier Transmitter for Novice Rig Round-up."
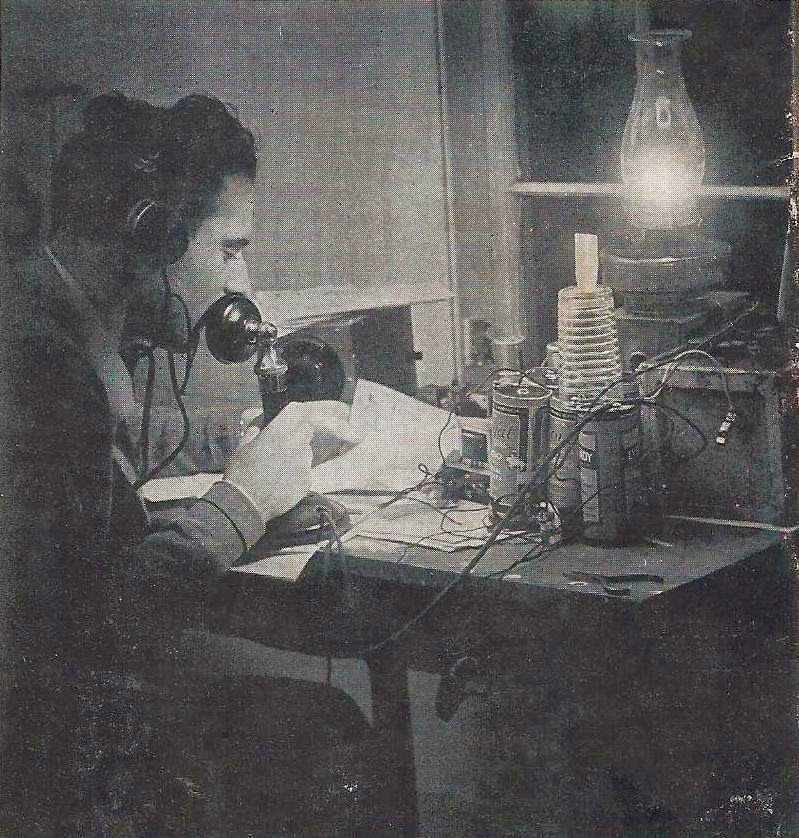
Novice Rig Round-up is the brainchild of Bry, AF4K and WD4NKA (me). Both of us are CW addicts, both of us love simple, close to the basics radios. And such were the rigs of my Novice Days of 1977 - 1979. My Novice days were a two year romp in the world of Wireless Telegraphy of 1929 through 1960. This was largely owing to:
Novice Rig Round-up is the brainchild of Bry, AF4K and WD4NKA (me). Both of us are CW addicts, both of us love simple, close to the basics radios. And such were the rigs of my Novice Days of 1977 - 1979. My Novice days were a two year romp in the world of Wireless Telegraphy of 1929 through 1960. This was largely owing to:
A. I was 22 years old, my profession, that of a Letterpress Printer and Offset Platemaker and Halftone Cameraman had bit the dust thanks to the Oil Embargo a couple years earlier. I was apprenticing as an Optician, a change of careers, and my bankbook balance roughly equaled my shoe size. I was perpetually strapped for cash.
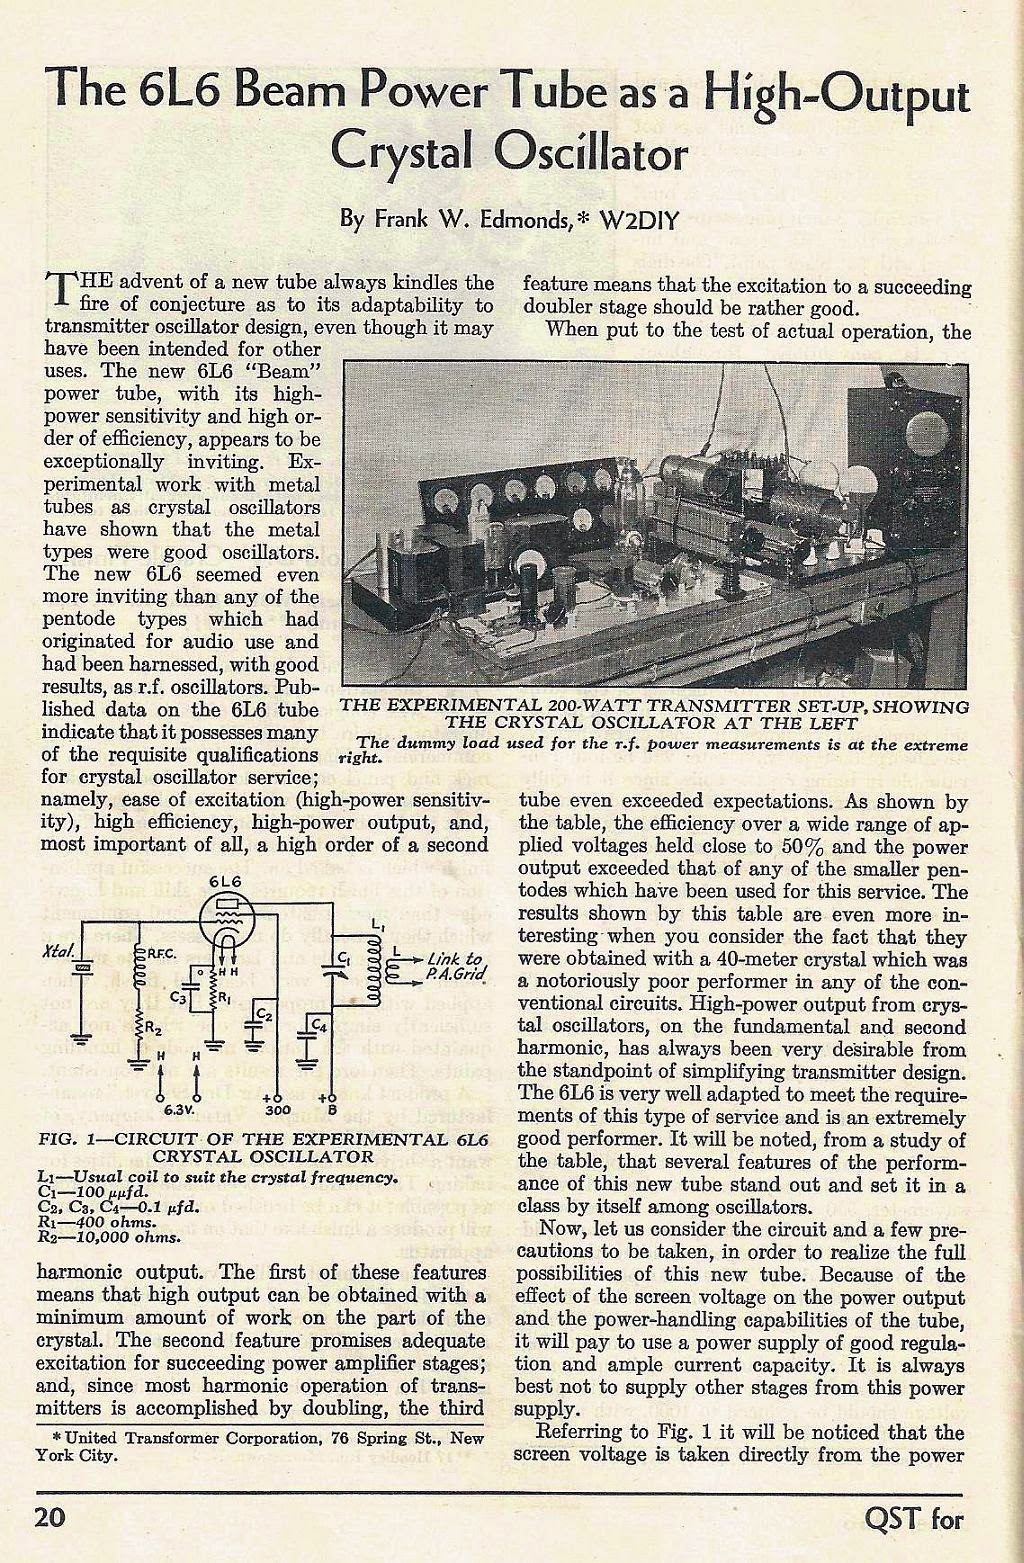
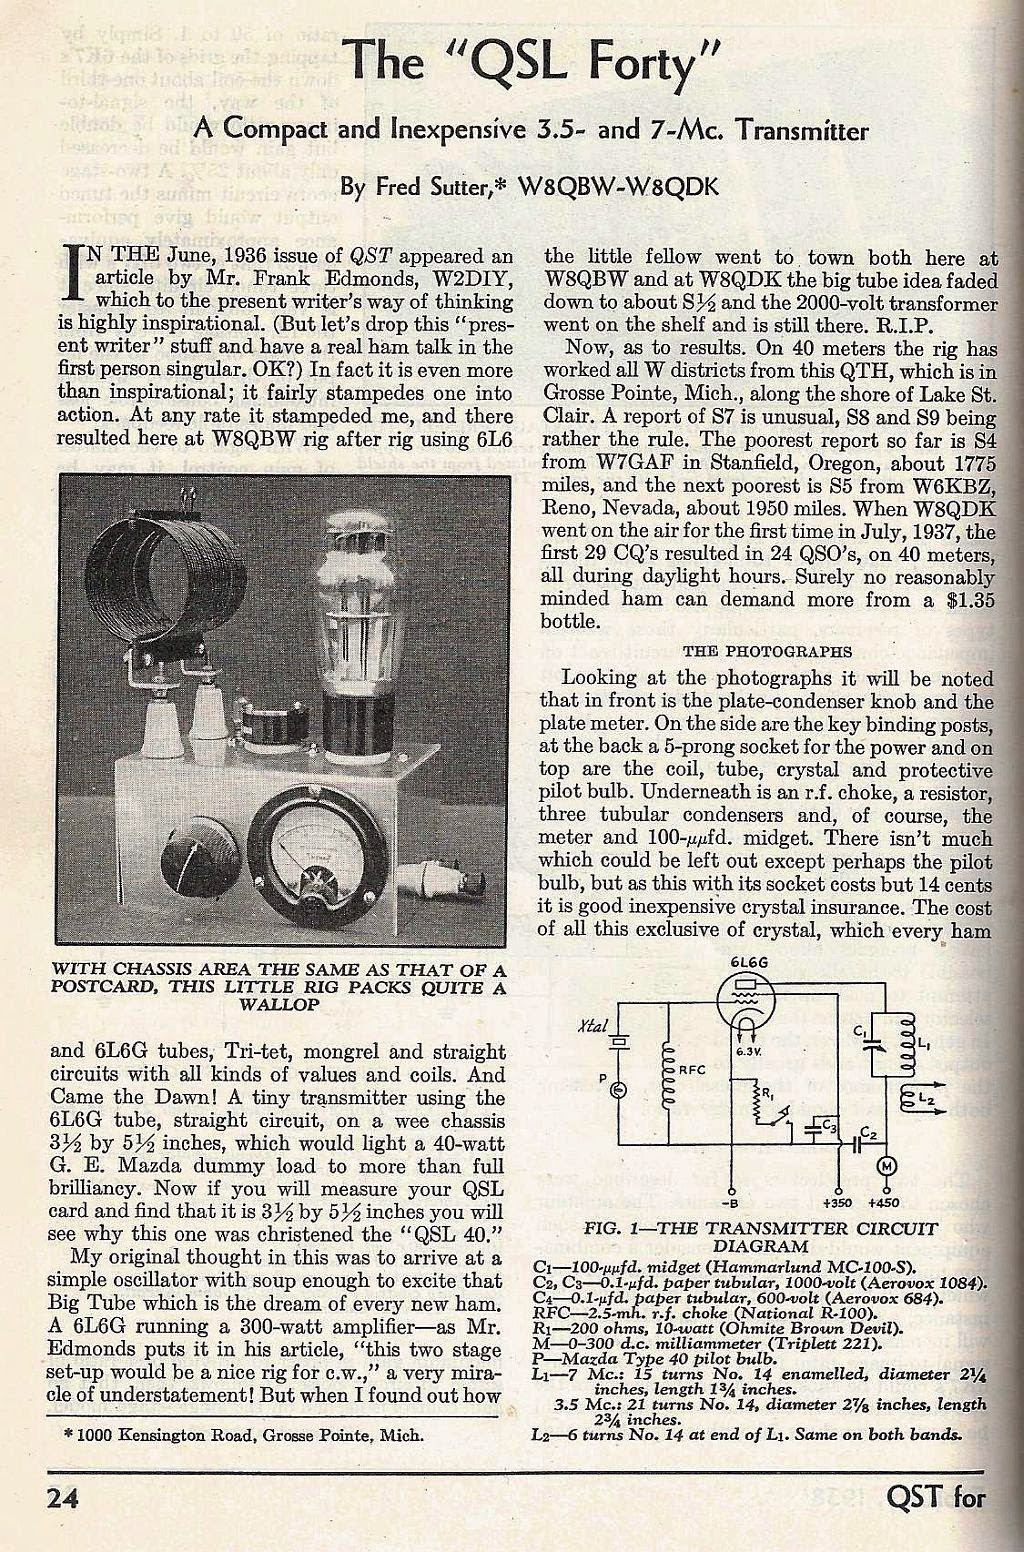
B. The Old Timers that I had for Elmers would give me their old QSTs from the 1930s to read. My first radio magazines, until I became a charter subscriber to Ham Radio Horizons, were the red jacketed QSTs of 1938.
C. It just so happened that our local Orlando Military Surplus depot, "Skycraft", then down on Orlando's Gore Avenue, carried all the parts necessary to build the projects in those old QSTs! In 1977, you could still get World War 2 surplus for pennies on the dollar. 807s, 6L6Gs, Transformers, Chokes, Isolantite Sockets, DCC wire, it was all there, for very little cost. If Homebrewing was your thing, Skycraft was your place . . . as long as it was Valve/ Tube oriented, that is.
You have maybe seen the black and whites on my Wireless Page. Those were all built back then from "Milsurp". The only thing I did not show was my BC-453 "Q5er". What a combo that was. And it was this very rig that I thought I might reprise for Novice Rig Round-up. What follows is a photo Show and Tell of piecing together my version of the Modified Pierce MOPA, which was featured in the ARRL Handbooks of 1954 and 55.
Starting off with three chassis which I obtained from eBay, I began by getting a feel for the components on the top deck. These chassis are 5 x 7, not really all that much bigger than the QSL-Forty was. Here is a shot of the transformer and 5Y3GT tube socket, ceramic.
The transformer is a drop-through chassis mount type that requires a large square hole to be cut. Fortunately, I saved my good old Novice tools: the tin nibbler, and my Greenlee Socket Punches. Some of you Orlando History folks might be interested to know that I purchased those punches from the old Harry P. Leu place just off Mills and Montana.
I start by drilling holes in the corners that I ruled out. To the right is the pilot hole for the octal socket.
The nibbling commences. the square nibbling head makes it pretty easy to stay aligned with the pencil mark. After about ten minutes of cutting, I am done. The cuts don't have to be perfect, because the transformer will cover the hole itself. But you don't want it sloppy, either. Just know that if you wander outside the lines a little, there's a lot of forgiveness.
The transformer drop and the octal socket hole are complete. Not too awfully bad, if I may say so myself. The Greenlees never punch a bad hole. You align these punches by scoring or drawing lines that intersect at the center of your desired punch area, then line up the four alignment marks on the punch itself. This centers your punch exactly where you want it. Then, after drilling the pilot hole for the punches central nut to drop through, place the top part of the punch above deck, and thread the lower cutting portion of the punch below the surface. Turning the nut pulls the cutter below deck through the metal, cutting as it goes, into the receiving "cup" at the top surface. When screwed all the way through, the cutter punches a very clean hole through the metal. You then unscrew the punch nut to take out the metal that was cut away.
Once the main openings are cut and punched, mounting screw holes must be located and drilled. Above, I am inserting the transformer into the square hole I just cut, and observing where the mounting screws make contact with the metal surface. I will then mark the place with a pencil. I will also mark the valve socket holes for the 5Y3GT.
Here we have the completed punches and cuts. All there is left to do is to drill out the front and rear apron holes for the power switch, the fuse holder and the power line and A.C. lines.
Next comes the transmitter chassis itself. Here, I do the same thing by marking where the valve sockets go, and in this photo, where the tuning capacitor will mount. The capacitor mounting will not be simple because four holes must be marked with precision. Now, many times the tightness and exactness can be somewhat mitigated by drilling holes wider than the screw and shaft, but you must also be careful not to drill so large that the screw heads pull through the apron itself. So in this case, I chose to drill one "drill-bit size" larger than the 6-32 screws that mount the capacitor, and that of the shaft diameter.
In the print shop I use transparencies to help register my colours. I simply took a transparency and cut a two inch by two inch square and used it to mark my holes. I first punched a hole for the capacitor shaft, and slid it over the shaft. Then, with the plastic squarely on the face of the capacitor itself, I took a Sharpie Marker and spotted the mounting screw holes. This was then taped to the exact spot where I wanted to mount the capacitor, providing me with the drill marks needed. I had to make sure that I had room below deck for the full rotation of the rotor plates below deck.
I use a hand held dremmel drill bit to make my initial marks on the chassis. You can see one of these marks in the center of the shaft hole. These are sufficiently deep enough to position the actual drill head that does the final drilling.
The capacitor is trial mounted: success. Exactly as I wanted, and there is clearance for the rotor plates. They do not make contact with the the metal at full open mesh. This variable capacitor came from out of a Heathkit Apache, by the way. It seems never to have actually been mounted. I estimate the value to be approximately 250 pF.
Having drilled out the mounting holes for the variable tuning cap, I turn my attention to the valve and xtal sockets., all of which will be ceramic octals. The coil will not be plug in, because I have a grand total of four to work with. The power will be brought in from the power supply using Cinch Jones plugs, which I ordered on-line. Here are the positioned sockets, for the 6AG7 oscillator, the 6V6G final, or alternately, the 6L6G, and the xtal socket which roughly positions between them, and the final tank coil with positions above the tuning capacitor. A 6-32 screw and nut will be used to mount the coil form. This was why I wanted to be sure I had a lot of overhead clearance for the rotor plates.
Hear is an overhead "above-deck" view of the mounted components and hardware. On the side you can see the taper reamer that widens out the pilot holes just enough for the socket punch screws. Once positioned and the intersect lines drawn, the pilot holes are drilled and reamed to size.
The pilot holes are marked, and the 6-32 screw and nut is already drilled and mounted. The tuning capacitor is also already mounted.
The power switch is mounted, and those two screws you see next to it hold the bleeder resistor on the inside. The transmitter itself (right) uses two banana jacks for my Russian Military Key. Note the coil form is different. I opted to use the black 35mm film cansister form rather than the white. The screw holds the cap of the canister, and the coil form, inverted, snaps right into the cap and is held secure. Since this is a link coupled antenna, the secondary of the tuning coil feeds the antenna directly via the SO239 jack on the rear apron. There is a #46 pilot bulb in series with the antenna output.
Rear apron shot shows the SO239 jack, the male Cinch Jones jack, and the rear of the Power Supply, now sporting two mini-valve holes. These were made to support regulator valves should they be necessary. As it turned out, the transformer supplies much lower current than I thought, and regulation was not necessary. A larger transformer will substitue this one soon. As it is now, this MOPA does an honest five watts output, with 380vdc @ 20mA on the plate of the final. Note also that the final is a 6L6GC. This rig is capable of close to 40 watts with a decent transformer. But as it is, it makes contacts on all five watts.
A below-deck view of the power supply. That switch is a 20-amp heavy duty SPST switch. The supply is lightly fused. The filter choke is actually the primary of an audio plate to voice coil choke. It does very nicely! Four power leads coming from the Cinch Jones plugs permits separate B+ to the Oscillator and to the Final should it become necessary to regulate the oscillator. It can also separately supply the screen if needs be.
And the below-deck view of the transmitter. Not a whole lot there, isn't it? This circuit uses a 100uH choke as the RFC to the 6AG7, which brings the oscillator output at about 5 mHz (heretofore known as "Mc"!), sufficient to drive the 6L6GC, on both 80m and 40m. Thus, no drive tuning is required. This really keeps the parts count down.
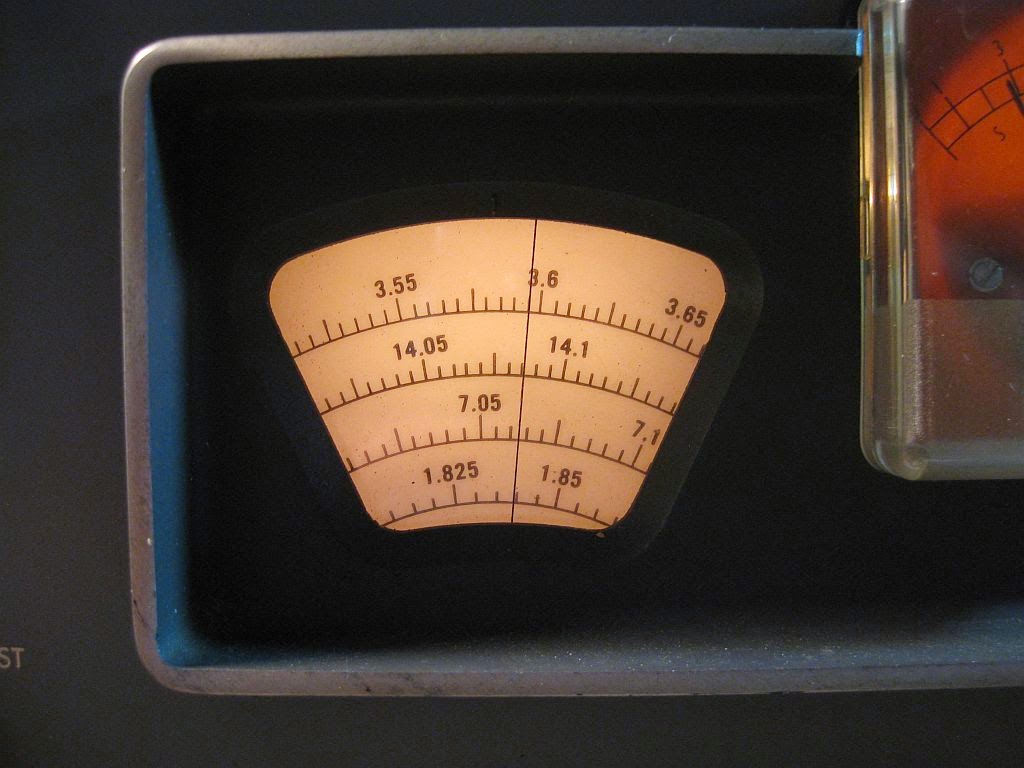
And there she is! All we need to do is plug in the antenna, key, tune her up, and fly. She pairs well with the homebrew receiver, which is a Regenerodyne Regenerative Superhet. On the top is a spotting oscillator, which helps the receiver tune the transmit frequency of the transmitter.
What self respecting Letterpress - in - a - Ham - Shack doesn't design it's own QSL cards? I was hoping to have this ready by NRR, but it just didn't happen. It is still slated to have a plate burned and I'll run it from the Chandler and Price there in the shop. The silhouette of the key is actually taken from a silhougram of one of my own keys!
What self respecting Letterpress - in - a - Ham - Shack doesn't design it's own QSL cards? I was hoping to have this ready by NRR, but it just didn't happen. It is still slated to have a plate burned and I'll run it from the Chandler and Price there in the shop. The silhouette of the key is actually taken from a silhougram of one of my own keys!
I would be remiss if I did not mention that I can do this same card for others! If you, dear reader, might wish to have a quantity of these printed for your NRR station, let me know at paperwrenpress@gmail.com!
That's it for today's installment. More to come!
de wd4nka a r


